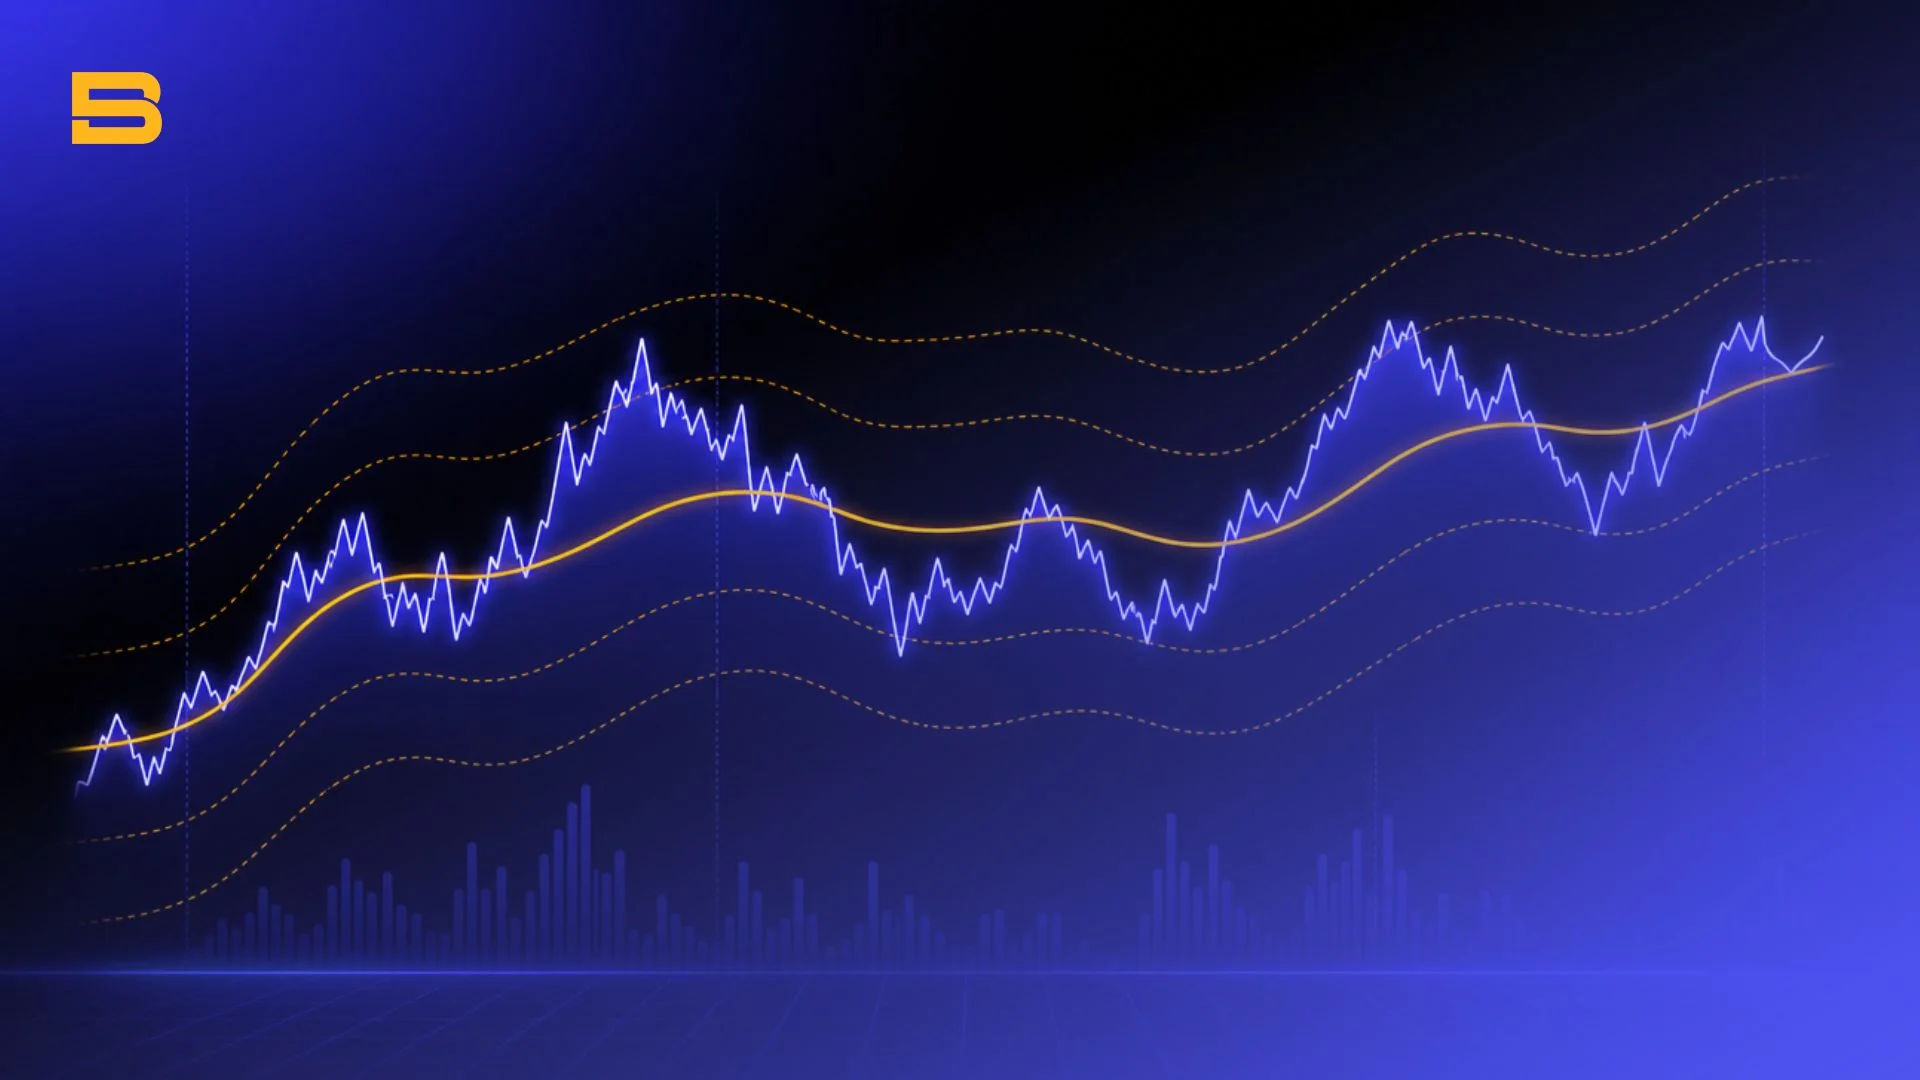
Learn what the VWAP indicator is, how to calculate the volume-weighted average price, and master intraday trading strategies. Read our complete guide now.
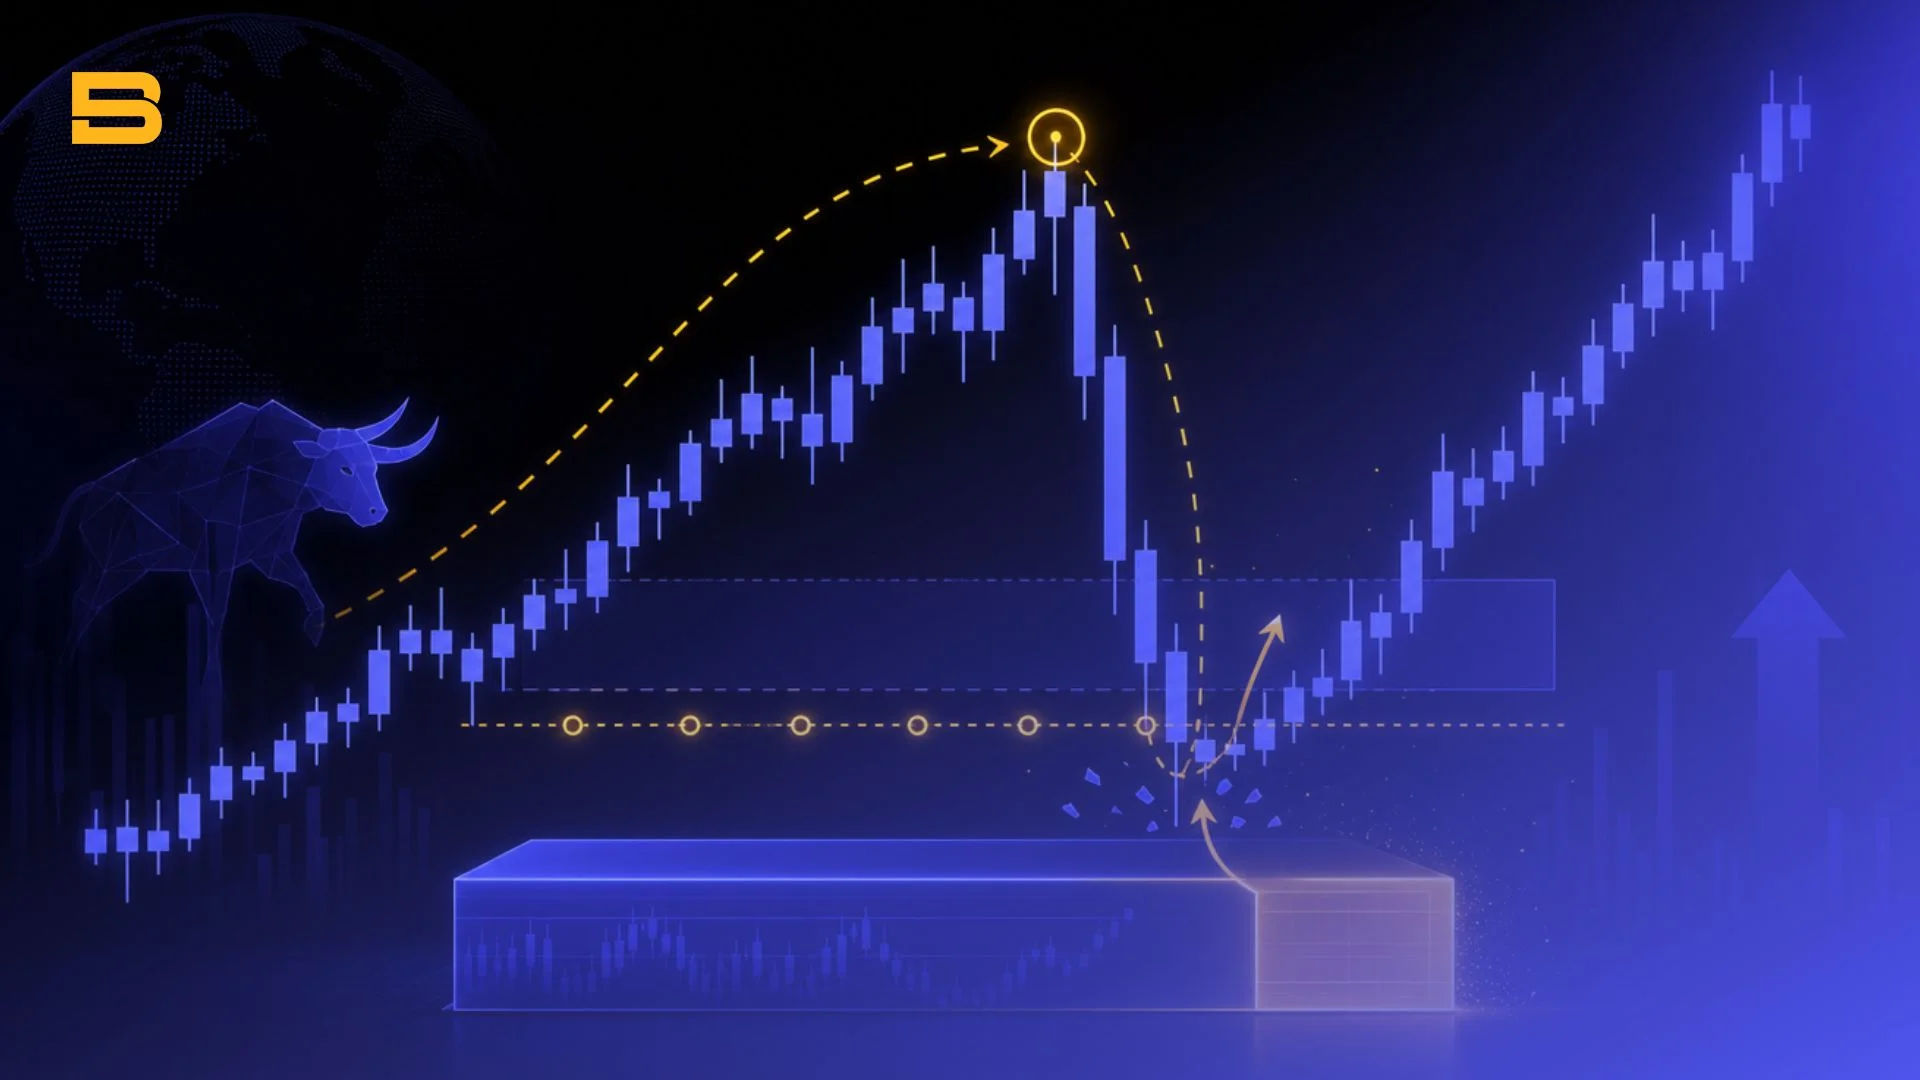
Learn how inducement in trading works in Smart Money Concepts (SMC). Discover how institutions trap retail traders, sweep liquidity, and how to spot setups.

Discover how the Hull Moving Average eliminates technical indicator lag while maintaining curve smoothness. Learn the math, settings, and trading setups.
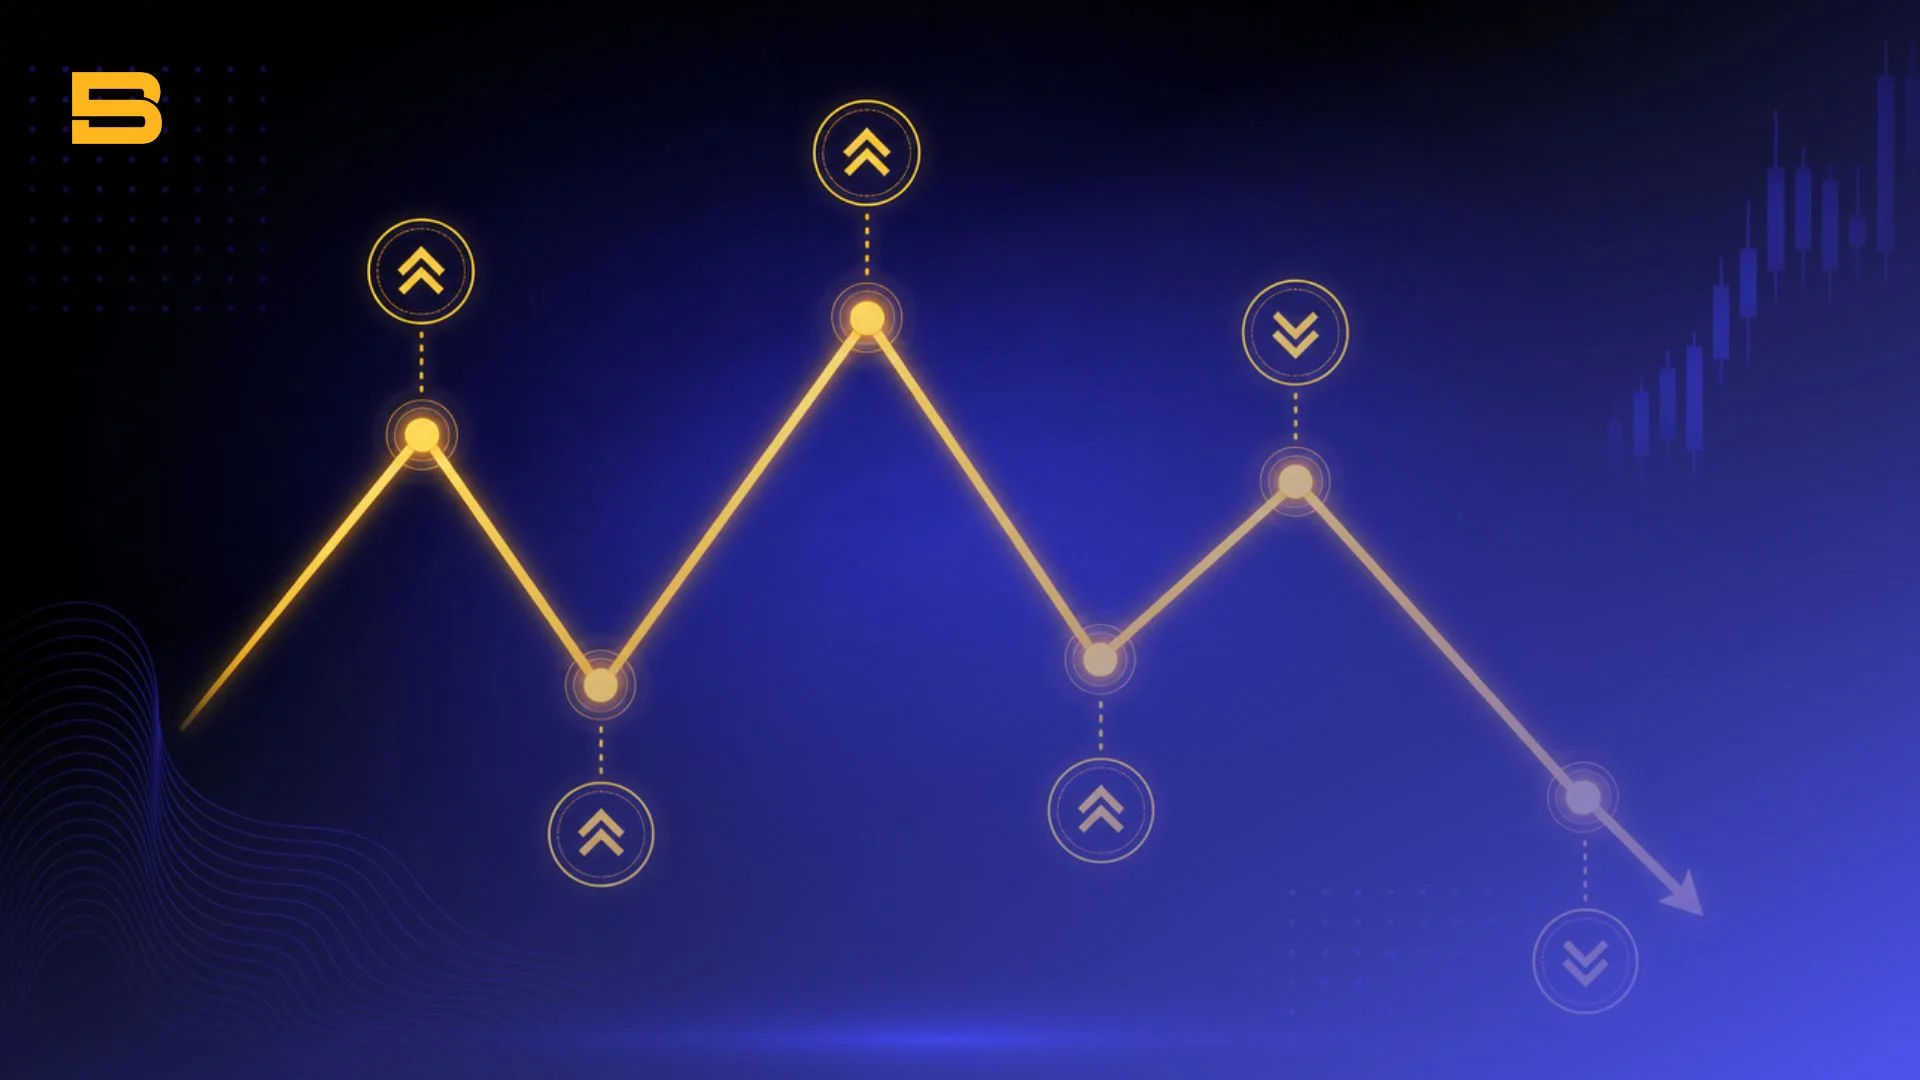
Master market structure trading to identify market direction using swing highs, BOS, and CHoCH without lagging indicators. Learn more with BrokerSpecs.

Learn what a liquidity grab is, how institutional smart money executes stop sweeps, and how retail traders can identify liquidity pools. Learn more.
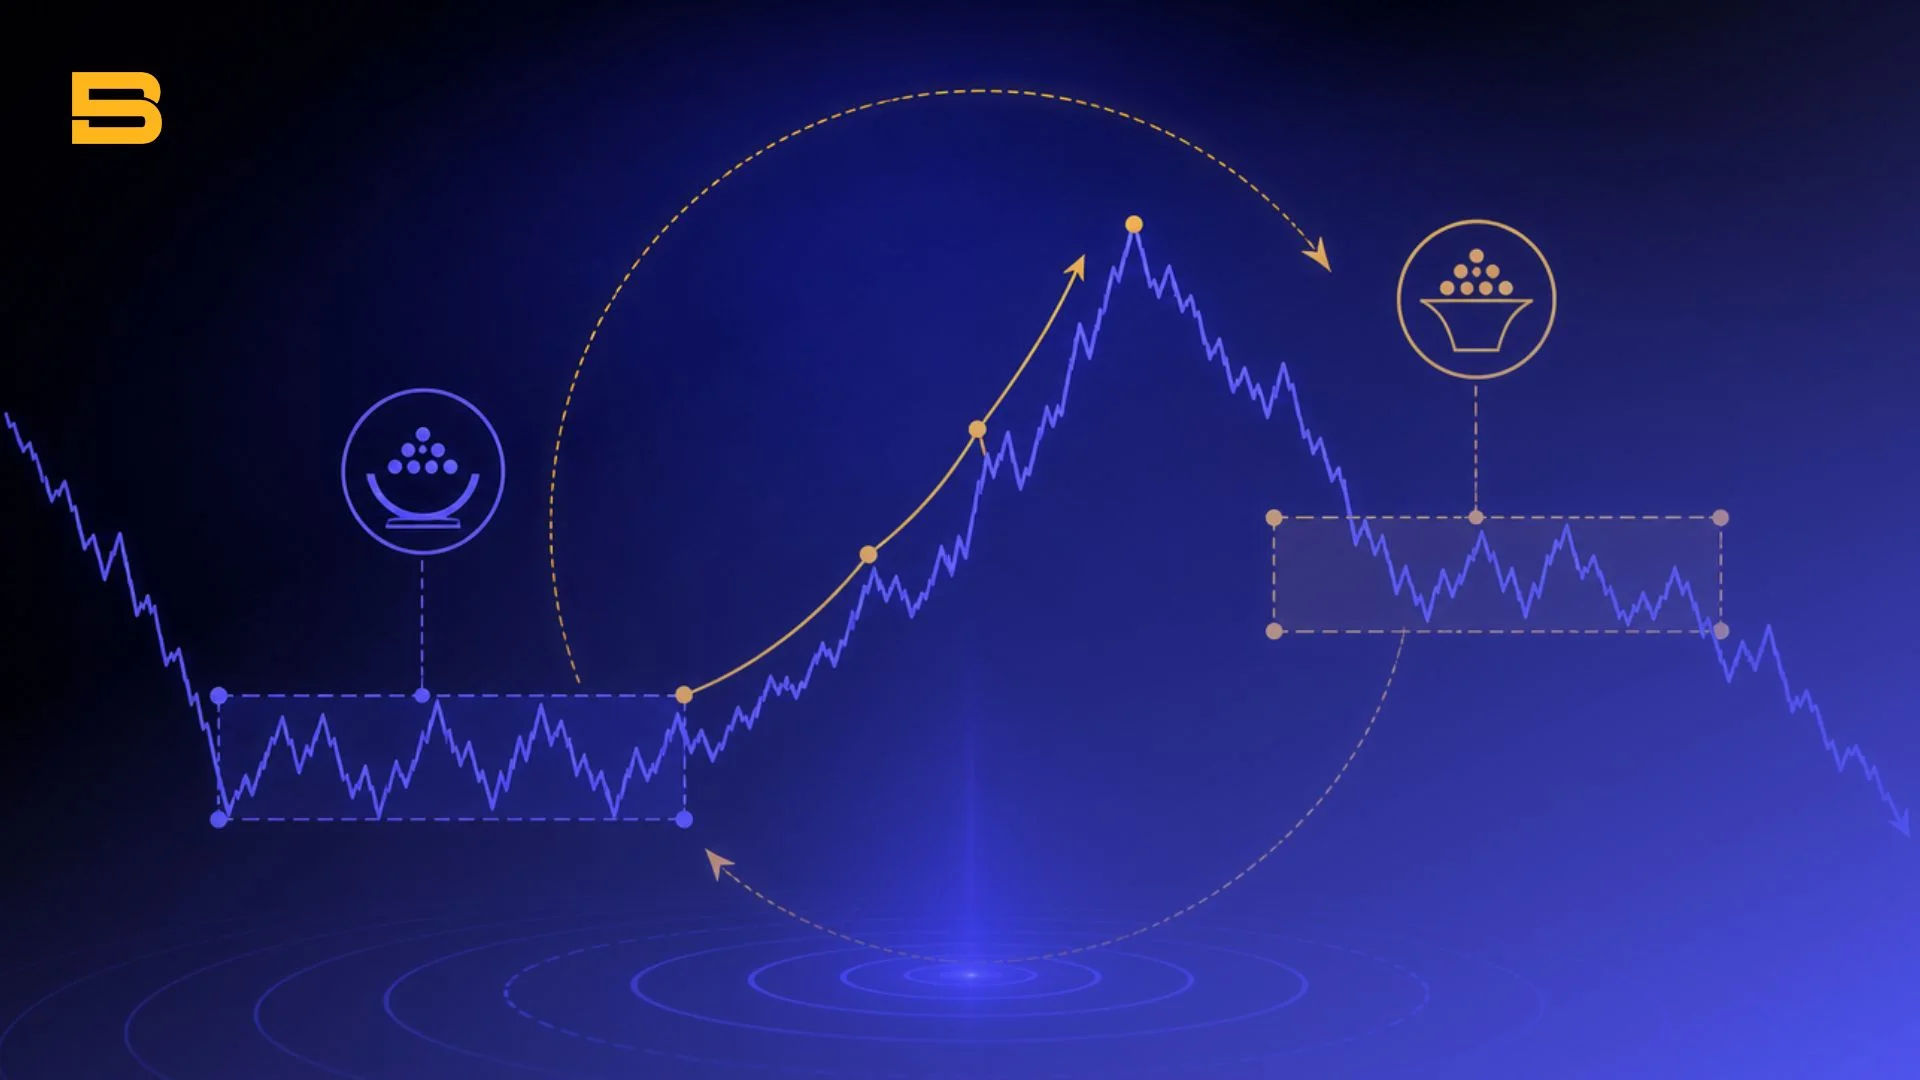
Master the Wyckoff method price cycle, accumulation, and distribution schematics to align your trading strategy with institutional market volume.

Discover how OPR Malaysia shifts affect housing loans, fixed deposit rates, and investment portfolios. Learn how to manage your financial strategy.

Mastering your trading mindset requires strict risk control, journaling, and emotional discipline. Discover how to avoid emotional traps and execute cleanly.

Learn what revenge trading is, the psychological triggers behind emotional losses, and 3 practical circuit-breaker rules to protect your capital. Learn more.

Searching for the Bank Negara Malaysia approved forex broker list? Learn how BNM and SC regulate currency trading and verify brokers safely. Read more.

Master a systematic news trading strategy. Learn how to handle spread widening, trade post-spike breakouts, and protect capital. Explore our tactical guide.

Master the pullback trading strategy with key indicators, entry triggers, and stop loss rules. Learn how to trade trend retracements safely.